|
New Summer Strummers $85 Includes US Shipping and a Bottle Neck Slide. They wont last long. Click here to go to our online store .
-keep on playing
0 Comments
Still working on this guitar, but here is some helpful info on making a bottle neck slide. http://www.instructables.com/id/Homemade-Guitar-Slide/
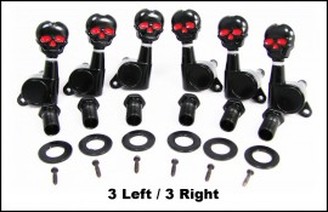
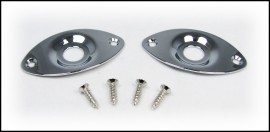
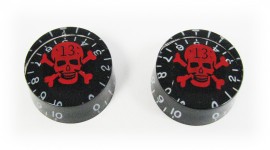
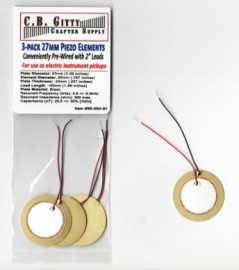
Some CBG artist offered to record some custom lessons for Guitar World. What ones would you like to see? Click on the sidebar next to the ones you would like to see. -keep on playing.. Gear Provided by CB gitty Click on the photos to take you to the items on CB Gitty's site!
-keep on playing... Tips
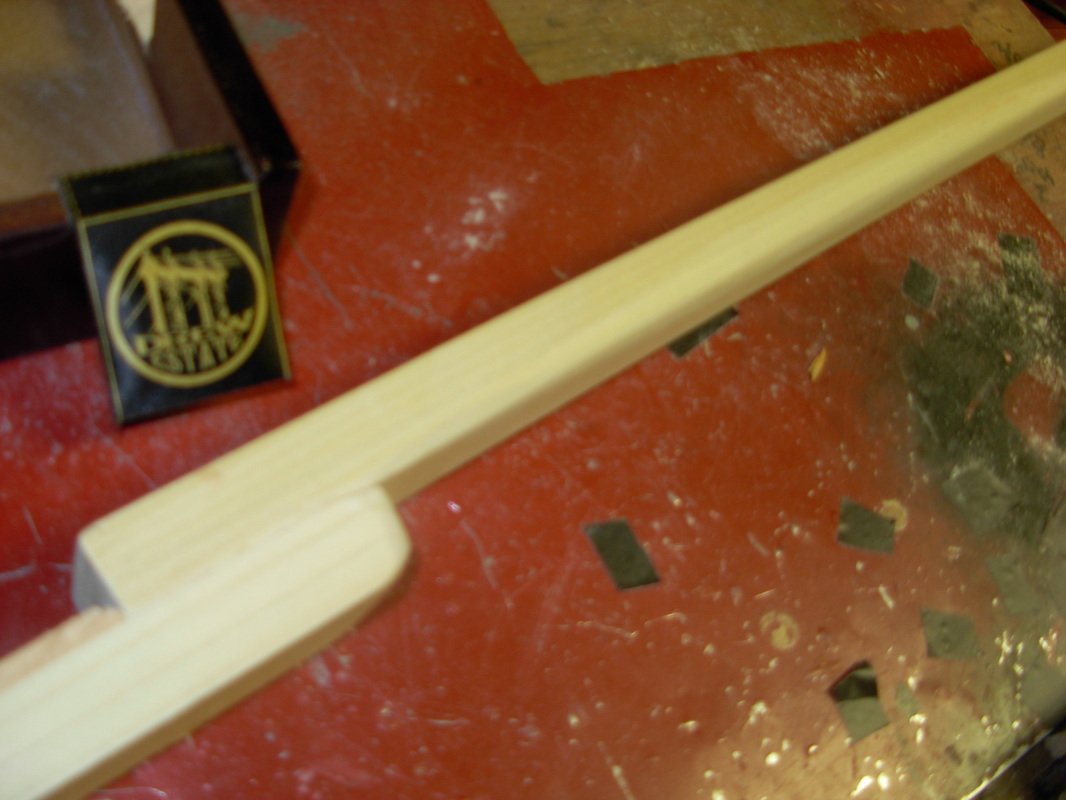
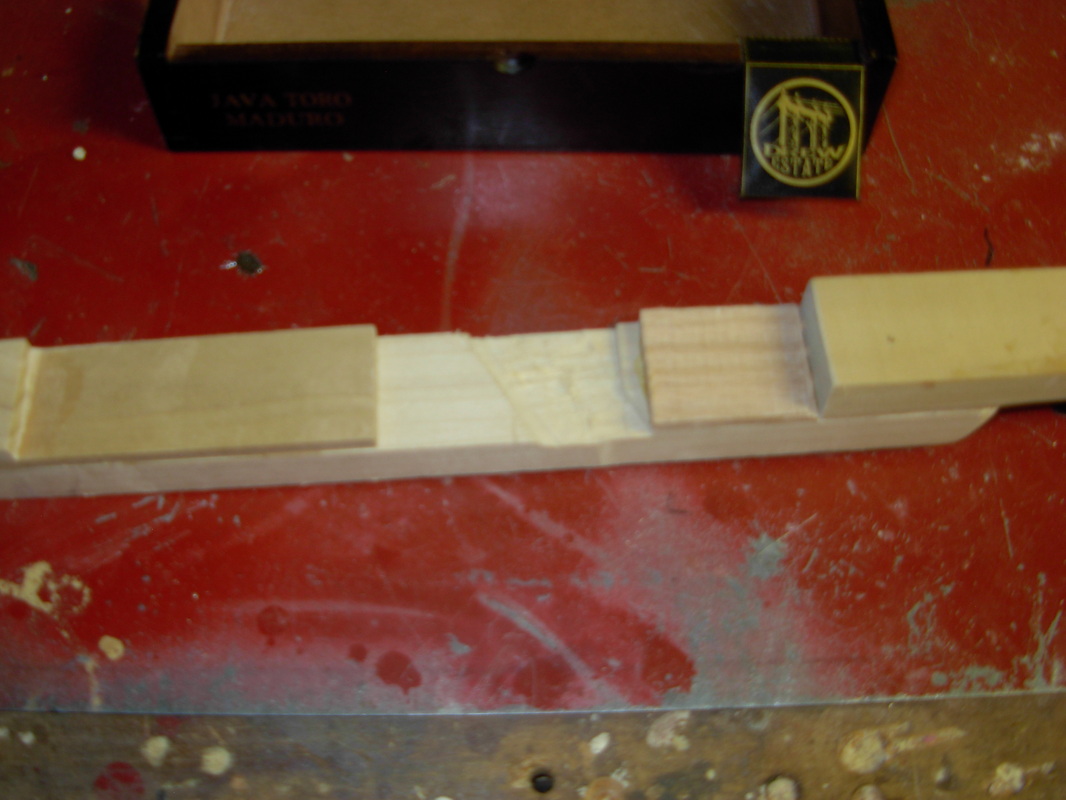
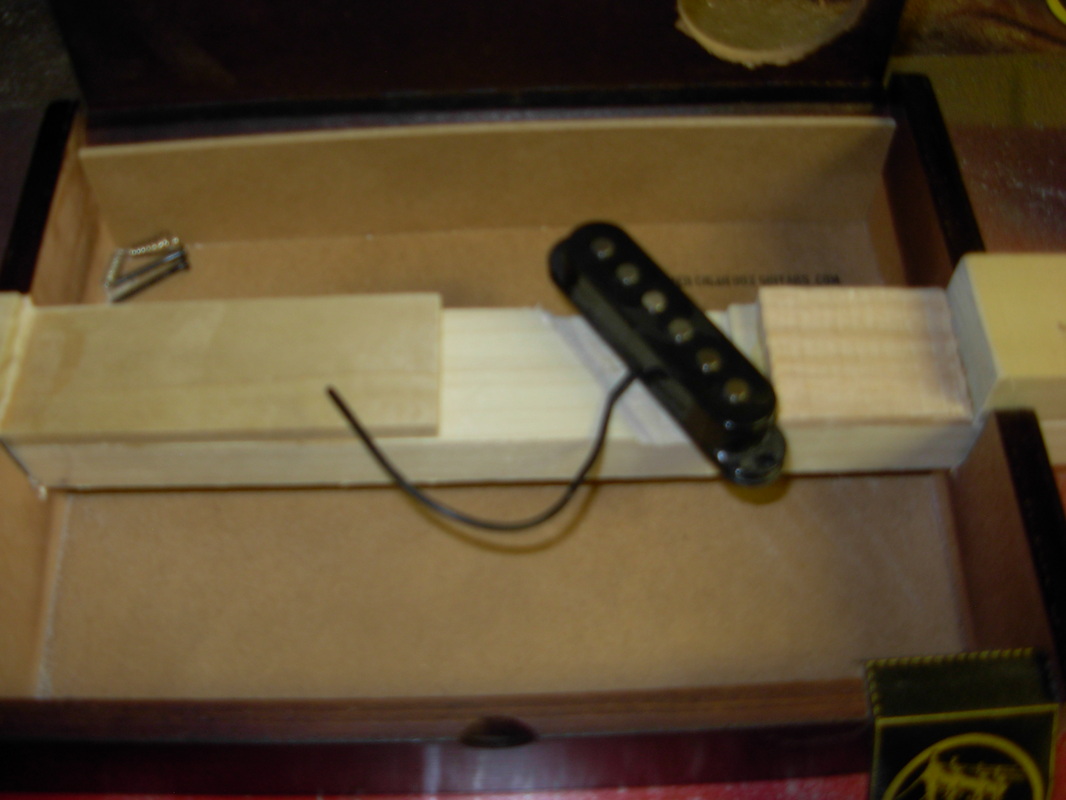
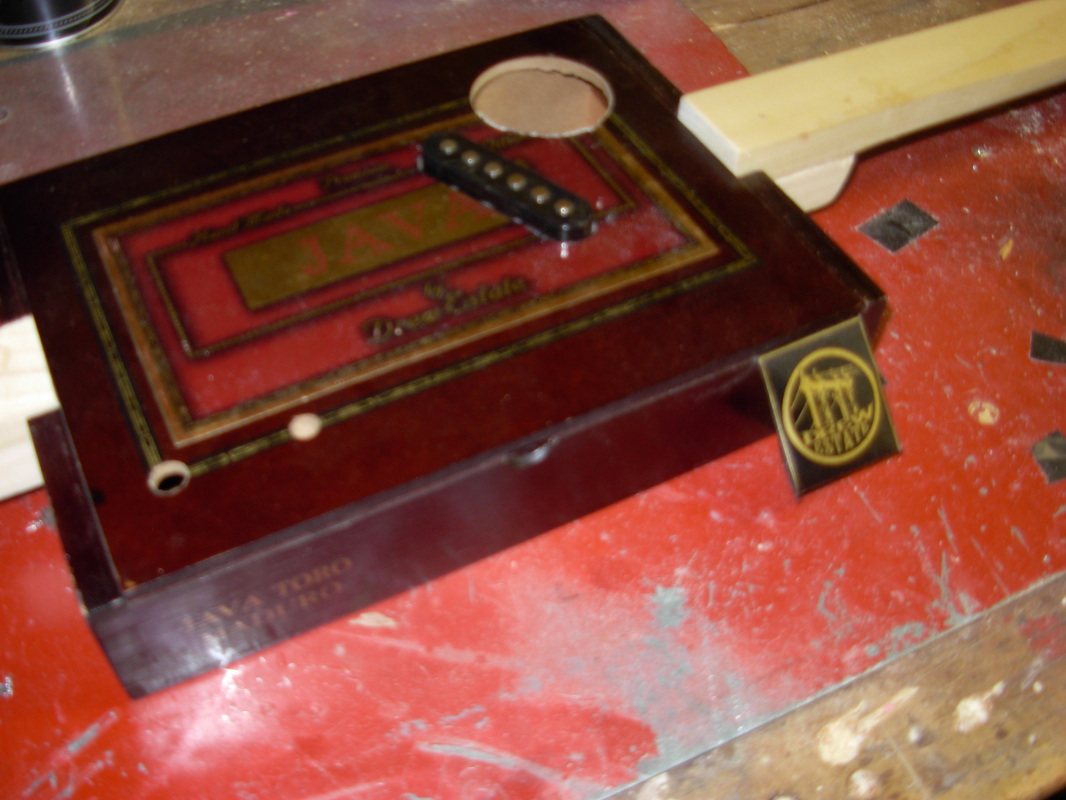
Make your own sanding block - Use some of the wood that you cut for your headstock as a sanding block. Its Free! Belt-sander - This can save you a lot of time when sanding down your neck, you have to have a light hand and keep it moving, but its gets a nice finish quickly. Rasp - Its a great tool. I make all of my cuts a little shy and use the rasp to cut them the rest of the way. That way I get a nice tight fit. The Everything for a $1.00 store - I always check there before I visit other stores to pick up some gear. It is surprising what you can find. Offset Neck An offset neck is pretty simple to make it just takes some more time. Hopefully you have not cut your wood for the neck yet. Set your wood next to your cigar box. leave a 1.5" overhang for the tail and on the other side of the guitar make a mark on your wood 3" outside the box. This will be the bottom piece of the off set neck. Cut the wood on the mark you just made. With your rasp round the corners and sides on what will be the bottom of the neck, leave the top part (the side that will be glued to the top piece of the neck flat so the glue will bond correctly. Sand the area you rasped till it is smooth. When you make the notch cuts in the sides of the box for the neck you will need to cut them 1/2" deeper than the orignal thickness it should be 1 1/4" deep( this makes up for the offset neck and you will have proper string action. Now place the bottom piece of the neck (the one you just sanded) back in the box flat side up. Line it up so there is 1.5" hanging over the end for the tail. make a mark on the neck side where the bottom piece of the off set meets the lid. Remove the wood from the box. Place a small amount of Titebond III glue on the bottom piece of the neck from rounded end to where you made your line. Spread evenly. Place your larger piece of wood on top and line it up with the line that meets the lid. I use bar clamps for this but large spring clamps will work too. Place 2 clamps on top and 2 clamps on the sides, make sure the neck is straight from all sides (you don't want to have a bent neck.) Let set according to instructions on the glue. Once the glue is dry sand the sides where the two pieces of wood meet. If you have a good tight bond it will almost look like it is one piece of wood. I usually put 2 or 3 wood screws from the bottom piece up just for insurance, but the glue is strong enough to hold the bond. Measure 32" from the tail of the neck (total length) make a mark and cut. The total length of the neck should be 32". Now you can continue to follow along the blog at guitarworld.com and finish cutting your headstock and shaping the sides of your neck. Once we add a fretboard in the future blogs, you want to save your scraps to use as shims between the neck and the box so you can glue the neck to the lid. But we will do this after we cut our fretboard. If you have questions please leave a comment and Ill answer them as soon as I can. -keep on playing. If you want to buy every thing now here is the full list for the classic fret-less acoustic cigar box guitar ( options are too many to list but will be listed as we go along)
You will need everything in the first list too.
Here is your recon mission until next time-
A big thanks to Hollowbelly and Shane Speal for being apart of out first blog at guitarworld.com
More news soon.... -keep on playing |

 RSS Feed
